Cabinet Installation Costs 2026
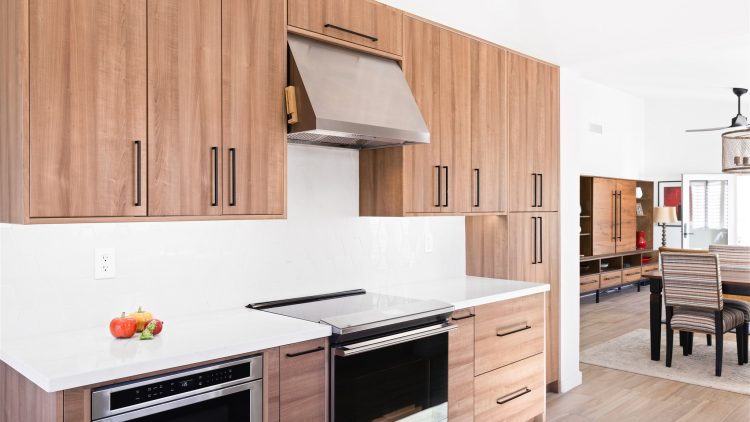
If you are planning a kitchen update this year, one of the first questions that usually comes up is cost. And honestly, that makes sense. Cabinets are one of the biggest parts of a remodel budget, both visually and financially. In 2026, cabinet installation costs can vary quite a bit, but for many homeowners, the overall installed price often lands somewhere between roughly $2,000 and $11,000, with many full kitchen cabinet projects falling somewhere in the middle depending on size, materials, and labor.
That is a wide range, but cabinet work is one of those projects where the details matter. A small kitchen with stock cabinets is a very different job from a larger kitchen with semi custom or custom cabinetry. The good news is that once you understand what affects the price, the numbers start to make a lot more sense.
WHAT MOST HOMEOWNERS PAY IN 2026
One of the easiest ways to look at cabinet costs is by linear foot. In 2026, stock cabinets often run around $100 to $300 per linear foot installed. Semi custom cabinets commonly fall in the $100 to $650 per linear foot range, while custom cabinets can run $500 to $1,200 per linear foot or more depending on the design and materials.
For a smaller or simpler kitchen, that may keep the project closer to the lower end of the range. For a larger kitchen, or one with more tailored finishes and layout changes, the total can rise quickly. That is why two neighbors can both say they had “new cabinets installed” and end up with very different final bills.
WHAT PUSHES THE PRICE HIGHER
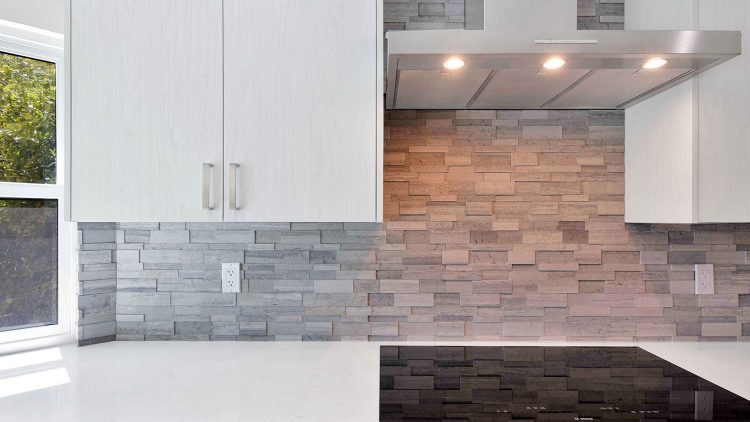
Cabinet type is one of the biggest cost drivers, but it is not the only one. The size of the kitchen matters, of course, because more cabinets mean more material and more labor. The cabinet material also matters. Basic builder grade options usually cost less than hardwood, plywood construction, or high end finishes.
Then there is labor. If the job is a simple swap using the same layout, the cost is usually more manageable. If the project includes removing old cabinets, fixing walls, adjusting plumbing, shifting electrical, or making the room work with a new design, the installation cost naturally rises.
Hardware, trim, soft close features, crown molding, and custom storage details can also add to the price. None of those things are bad ideas, but they do move the budget upward.
WHY PROFESSIONAL INSTALLATION IS WORTH IT
Cabinets need to do more than just look good. They have to sit level, line up correctly, open properly, and hold up to daily use. That is why professional installation matters. A rushed or sloppy cabinet job can create frustrating problems that are hard to ignore later.
Good installation helps protect the investment you are already making in the cabinets themselves. It also helps the finished kitchen feel cleaner, more polished, and more solid overall.
GET A CLEARER IDEA OF YOUR PROJECT COST
Considering new cabinets in 2026? The smartest move is to get a quote tailored to your specific space, design preferences, and project objectives. MK Remodeling is here to help you explore your choices, weigh different cabinet styles, and develop a plan that aligns with your financial parameters, all while maintaining a focus on quality. Contact us now and begin the journey toward a kitchen that not only looks great but functions beautifully and feels complete.
REFERENCES
Angi, How Much Does Cabinet Installation Cost? 2026 Data
Fixr, 2026 Kitchen Cabinet Installation Cost
HomeAdvisor, 2026 Average Cost of Kitchen Cabinets
GET A CABINET INSTALLATION QUOTE IN MESA TODAY!
[/vc_column_text]
Thinking about installing new cabinets in Mesa, Arizona. MK Remodeling offers professional and affordable cabinet installation services in many areas of the Phoenix, Arizona valley.