Kitchen Backsplash Installation Costs 2026
GET A KITCHEN BACKSPLASH INSTALLATION QUOTE IN MESA TODAY!
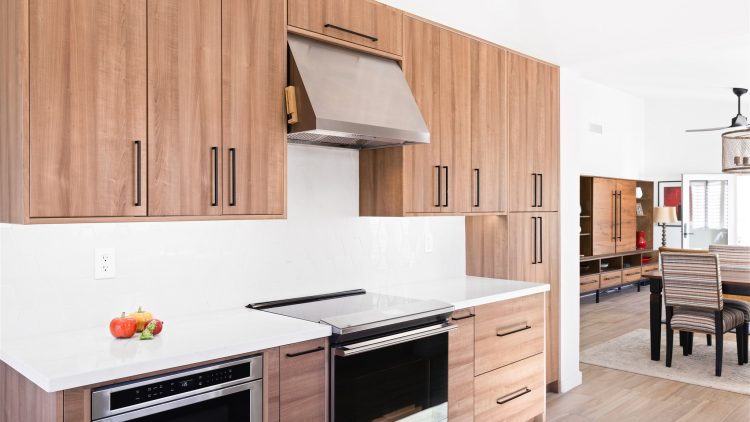
A new kitchen backsplash is one of those remodels that can make the whole room feel fresher without tearing the kitchen apart. It adds color, texture, and personality, but it also does a practical job. It protects the wall behind the sink, stove, and counters from splashes, grease, steam, and daily mess.
For 2026, many homeowners can expect kitchen backsplash installation to cost somewhere around $900 to $2,500 for a typical project.
What Affects The Price?
The first big factor is size. A short backsplash along one wall will cost less than a full kitchen with several counter runs, outlets, corners, windows, and a range area.
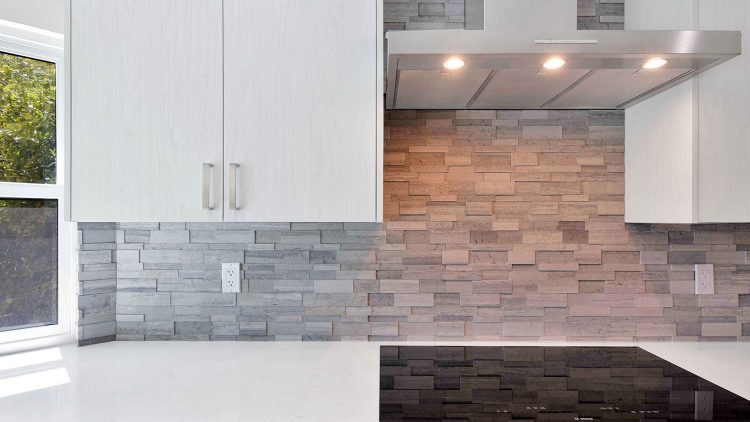
Material choice also makes a big difference. Basic ceramic or subway tile is usually one of the more affordable options. Porcelain, glass, marble, handmade tile, mosaic sheets, metal tile, and natural stone generally cost more. Some materials are also slower to install, which can raise labor costs.
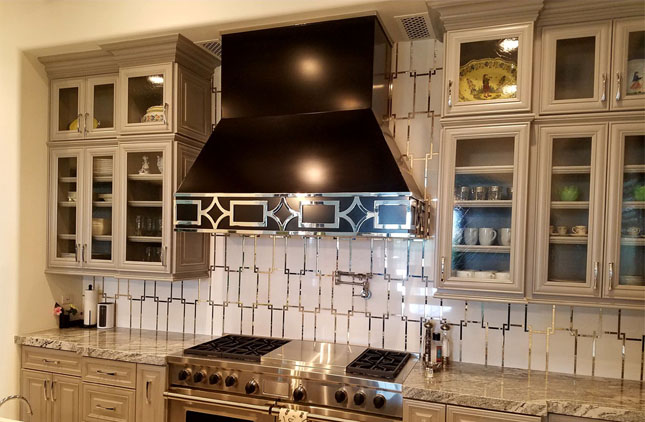
Pattern matters too. A simple straight lay is usually easier than herringbone, chevron, diagonal layouts, picture frame designs, or mixed materials. Those designs can look beautiful, but they take more planning, cutting, and time.
Labor Is A Real Part Of The Budget
Backsplash installation may look simple in photos, but good tile work is detailed work. The installer has to prepare the wall, plan the layout, cut around outlets, keep lines straight, manage grout spacing, and finish edges cleanly.
If drywall is damaged behind it, repairs may be needed before new tile can go up. Skipping prep work is one of the easiest ways to end up with a backsplash that looks uneven or fails early.
A clean installation is worth paying for, especially because backsplashes sit right at eye level. Little mistakes tend to show.
Popular Backsplash Choices In 2026
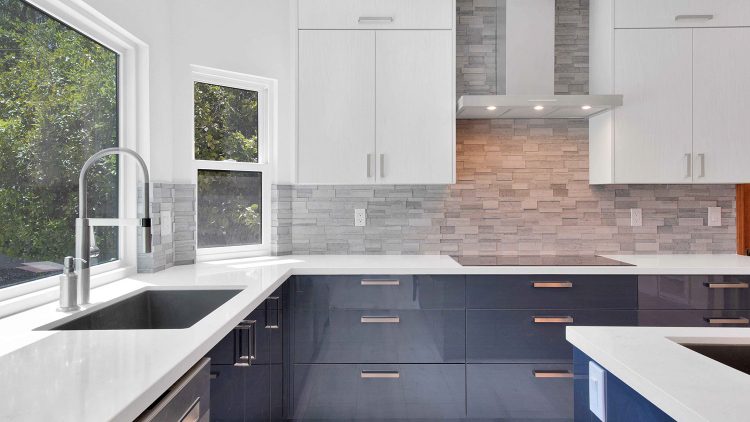
Classic subway tile is still popular because it is clean, flexible, and works in many kitchen styles. Larger format tiles are also common because they reduce grout lines and create a calmer look.
Homeowners who want more character often choose handmade look tile, zellige style tile, patterned ceramic, marble mosaics, or bold accent areas behind the range. Neutral colors are still safe, but warmer whites, soft greens, clay tones, and textured finishes are showing up more often.
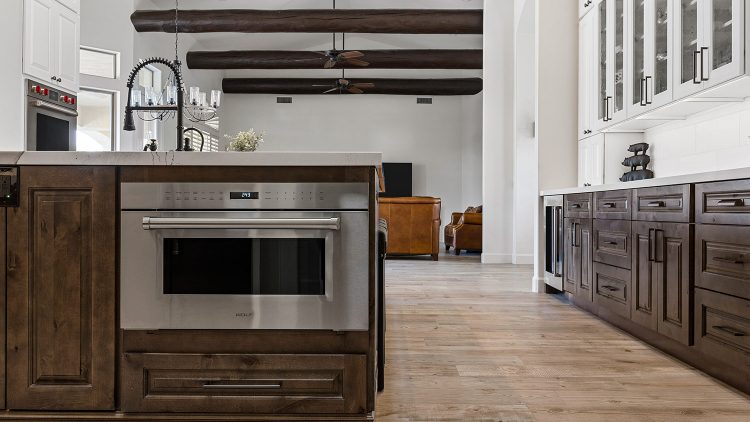
The best backsplash is not always the trendiest one. It should work with the cabinets, counters, flooring, lighting, and the way the family actually uses the kitchen.
Is A Backsplash Worth It?
In most kitchens, yes. A backsplash is a practical upgrade that also improves the look of the space. It can make an older kitchen feel more finished and help tie together other remodeling choices.
It is also easier to clean tile than painted drywall behind a sink or stove. That alone makes it worthwhile for busy kitchens.
Call MK Remodeling
If you are planning a kitchen backsplash installation in 2026, MK Remodeling can help you compare materials, understand costs, and choose a design that fits your home. Contact MK Remodeling today to start planning a kitchen update that looks great and makes everyday life easier.
References
MK Remodeling, Kitchen Remodeling
HomeGuide, Backsplash Installation Cost
Are you thinking about installing a kitchen backsplash in Mesa, Arizona? MK Remodeling offers professional and affordable kitchen backsplash installation services in many areas of the Phoenix, Arizona area.